In a Toastmasters meeting, the Timer shows green, yellow, and red signals so speakers can pace themselves, records each finished time, and gives the group a report.
Timing one speech is straightforward. A full meeting requires more preparation.
The range can change from speaker to speaker. The room needs visible signals. The Timer must keep every name and final time for the report.
The speaking.app Speech Timer keeps the timing rules, speaker lineup, stage, and report together. It works in a browser on phones, tablets, laptops, and desktops, with an optional installable web app for quicker access.
This guide covers that product workflow. For the role explanation, opening script, and common meeting timings, use our Toastmasters Timer role guide.
1. Start with the agenda
Before choosing a preset, read the agenda. A speaker’s project or the meeting chair may specify a range that differs from the common examples.
Choose Import agenda to load assignments from EasySpeak or Toastmost, or to paste a FreeToastHost agenda. Review every selected row before importing it. Imported timings remain editable, and the live agenda remains the source of truth.
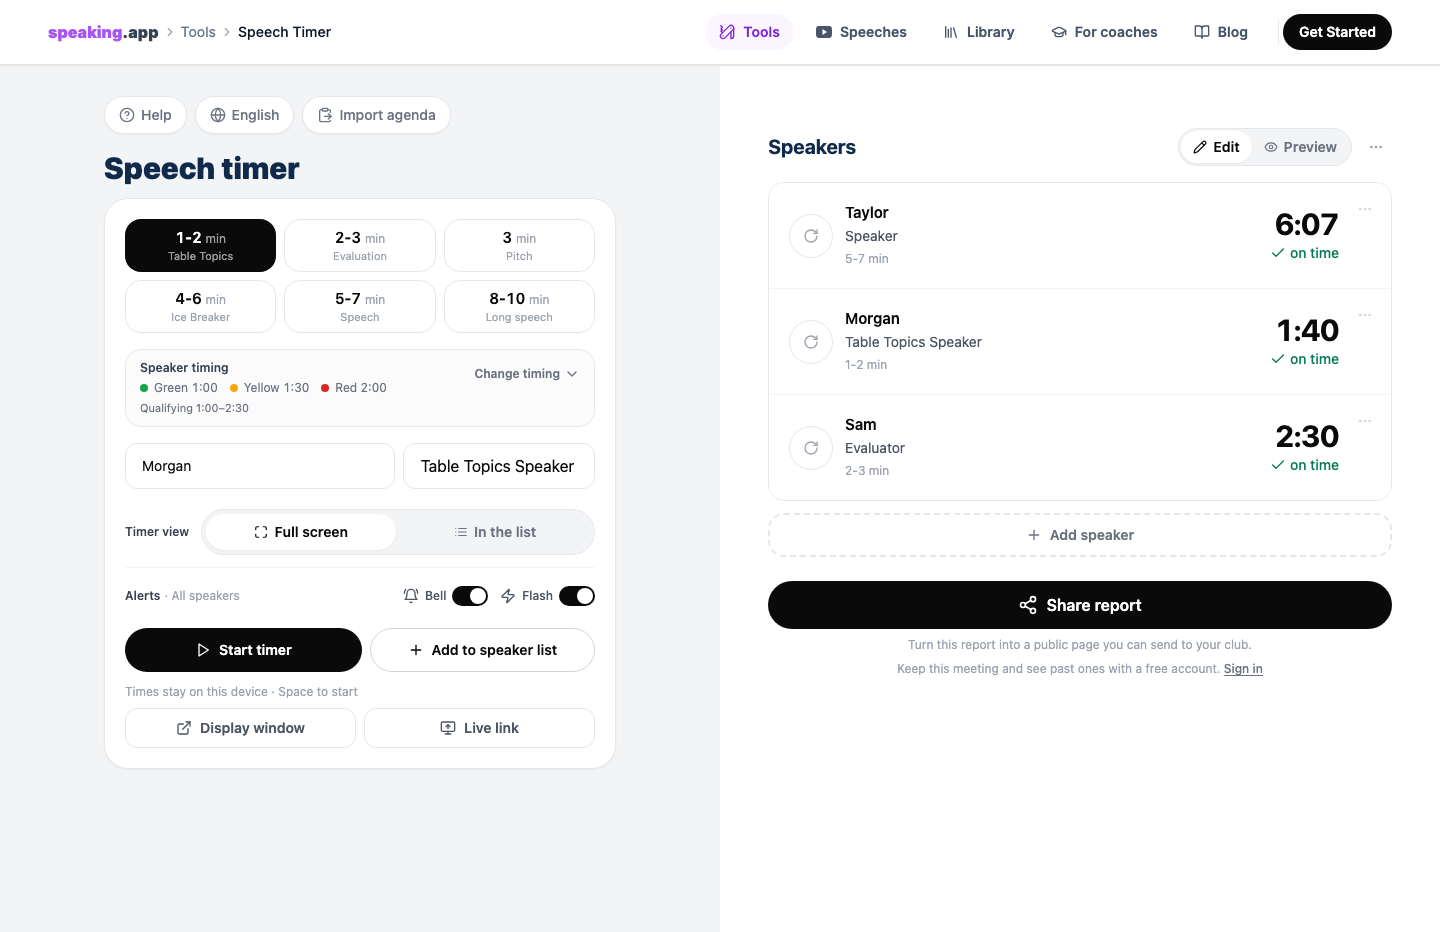
The timer includes presets for:
- 1–2 minute Table Topics
- 2–3 minute evaluations
- a 3-minute pitch
- a 4–6 minute Ice Breaker
- a 5–7 minute speech
- an 8–10 minute long speech
These are conveniences, not replacements for the agenda. If the required range is different, edit the green, yellow, and red thresholds.
Table Topics is the meeting’s impromptu-speaking portion, an evaluation is a timed feedback speech, and the Ice Breaker is a common first prepared speech. The labels help with setup; the agenda still determines the actual timing.
2. Separate signals from qualification when necessary
For an ordinary club speech, the visible green-to-red range may be all you need. Some contests also use a qualification window outside the visible signals.
For example, the 2026–2027 Toastmasters Speech Contest Rulebook sets International, Humorous, and Online contest signals at 5:00, 6:00, and 7:00, while the qualification window runs from 4:30 through 7:30. Fractions of a second are disregarded when qualification is determined.
The timer has separate fields for minimum and maximum qualifying time. Use those only when the event actually has a qualification rule. For club projects and contests, confirm the current official instructions rather than relying on memory.
3. Build the speaker lineup
Enter a speaker’s name and role, choose the correct range, and add that person to the lineup. Repeat for the known agenda.
The selected timing range is stored with each row. That allows a Table Topics speaker, a prepared speaker, and an evaluator to sit in the same list without sharing the same thresholds.
If the agenda changes, add or edit a row before starting that speaker. The lineup stays editable throughout the meeting.
4. Choose how the room will see the signals
The main Timer view supports two ways to run a speech:
- Full screen turns the stage into the large green, yellow, or red signal.
- In the list keeps the active timer beside the speaker lineup.
For an in-person meeting, full screen works well when the Timer’s device faces the speaker. A separate Display window can be placed on a projector or second monitor connected to the same computer while the Timer retains the controls in the original window.
For another phone, tablet, or computer, choose Live link, then Create live link. Copy the unlisted link or show its QR code.
The audience device opens a clean timer that follows starts, pauses, color changes, bells, flashes, and completed times while the controller remains private. The link lasts for 12 hours, and only the controller device can change the timer.
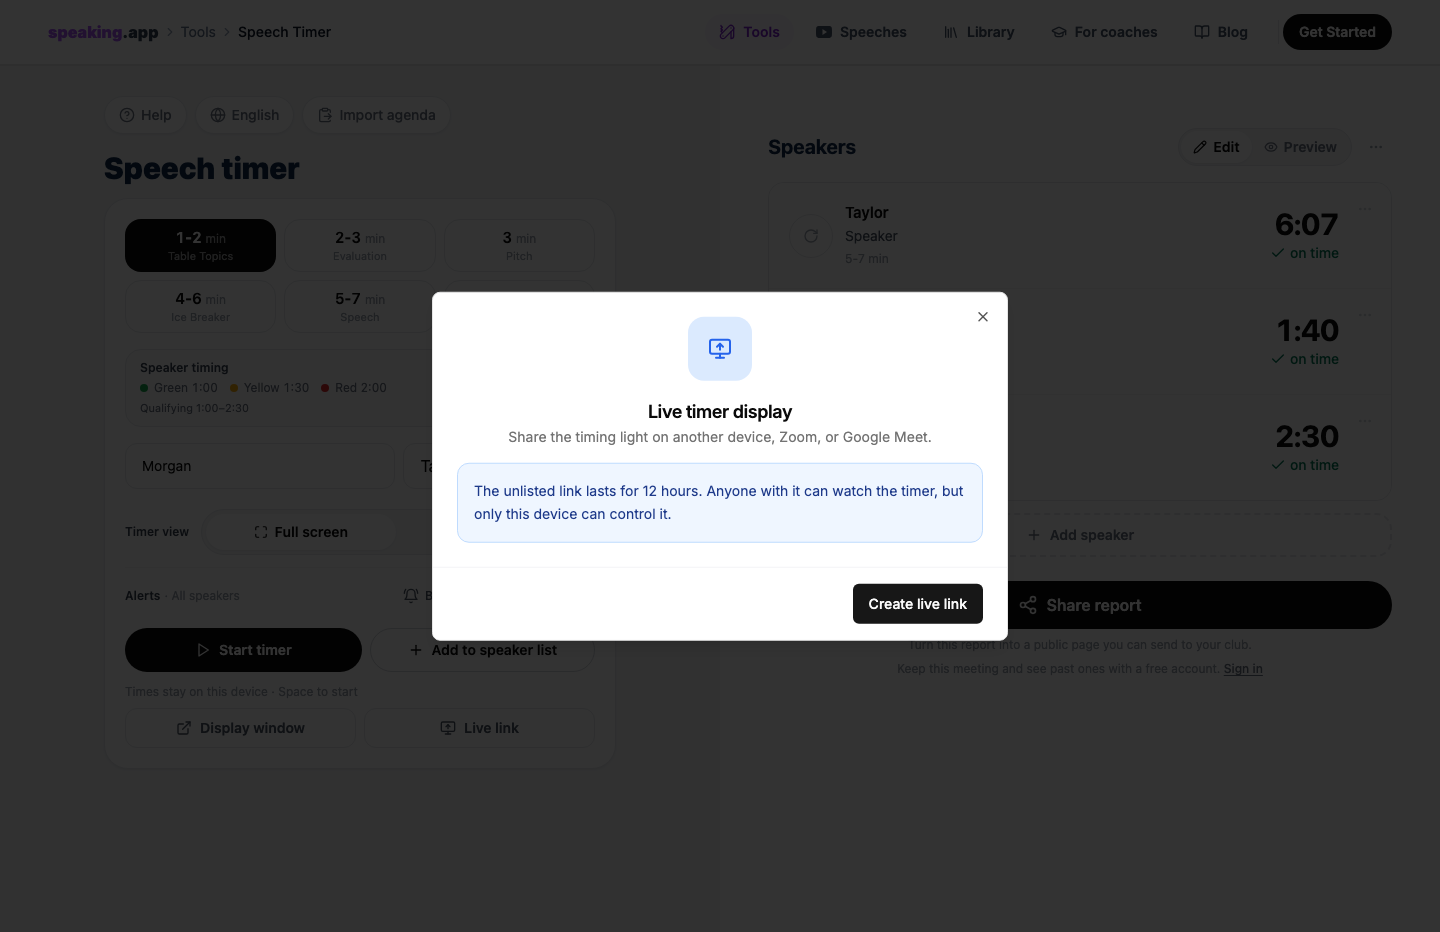
Create the temporary audience link from the Timer controller. The audience sees the timing display, not the controls.
For an online meeting, open the Live link in a clean browser window and share only that window in Zoom, Google Meet, Microsoft Teams, or the call platform your club uses. You can also send the link to the host or speaker.
That keeps the Timer controls and remaining speaker list private while everyone follows the same green, yellow, and red surface. Toastmasters’ own online-meeting guidance likewise says the Timer should maintain visible color-coded cues for remote speakers.
Before the meeting, choose what the Live link should show between speakers: a black waiting screen, the latest five names and times, or a compact timeline report. You can also choose how long the final time remains visible. Viewers may change the timer’s position for their own screen without affecting anyone else.
On supported desktop browsers, a mini timer can also stay on top while you work in another window. The stage can be rotated, and the numbers can be flipped when the device needs to face the speaker from the opposite side of a table.
5. Start when the speech actually starts
Begin timing according to the policy announced by the meeting chair. The Timer still has to watch the room and decide when the timed portion begins.
The stage shows the speaker, elapsed time, current signal word, and next threshold. Color and text appear together, so the meaning does not depend on color alone. The background gives a brief pulse when the signal changes.
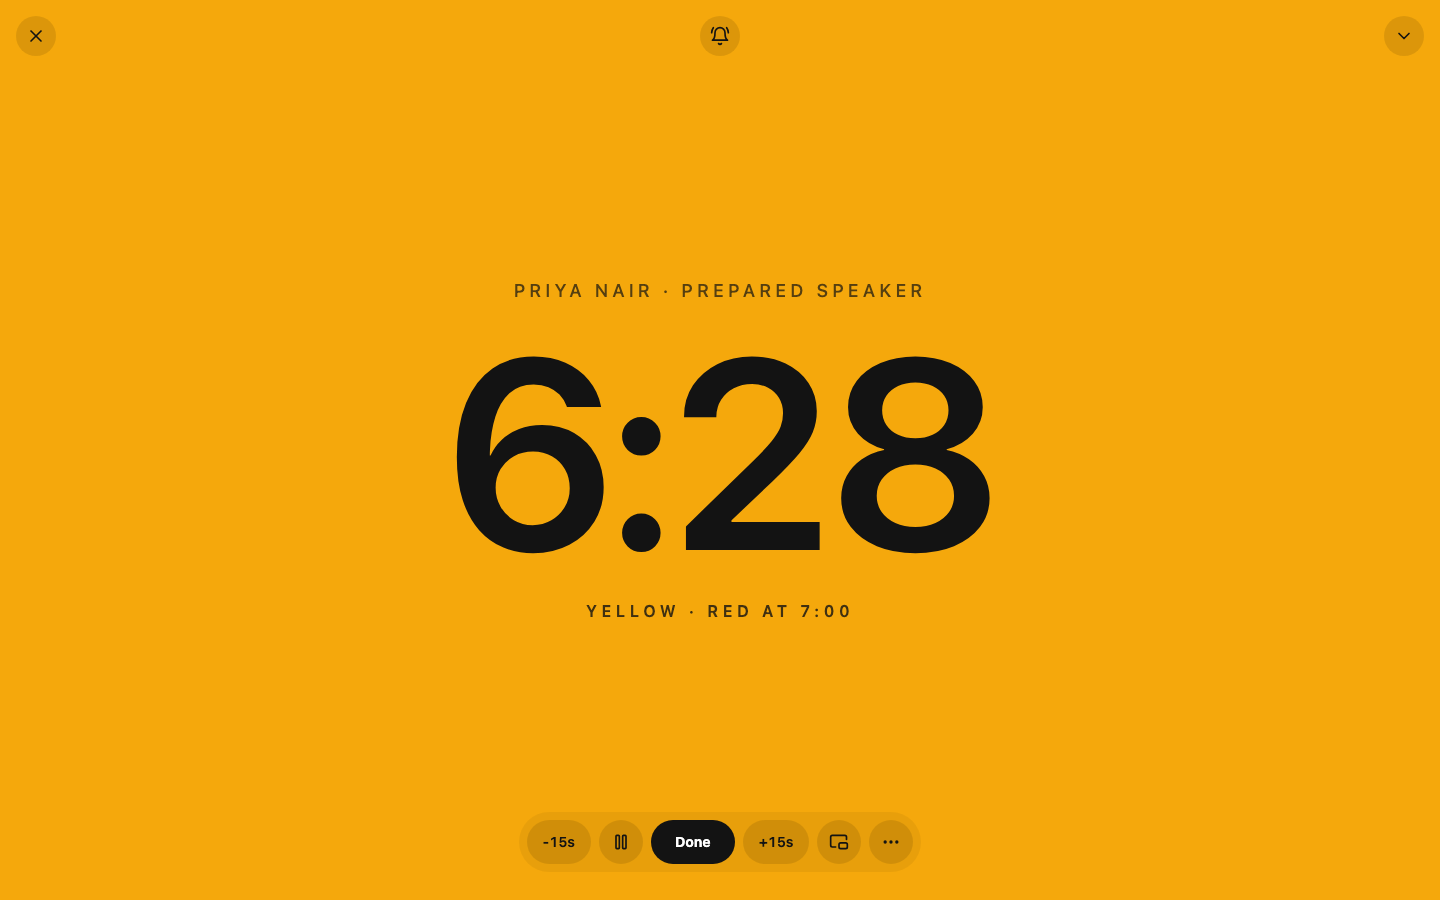
The full-screen stage acts as both clock and visible timing signal.
On a phone, the controls stay at the bottom while the signal fills the rest of the screen. The large surface works when the phone is placed in the speaker’s sightline, and the timer asks supported devices to stay awake during an active session.
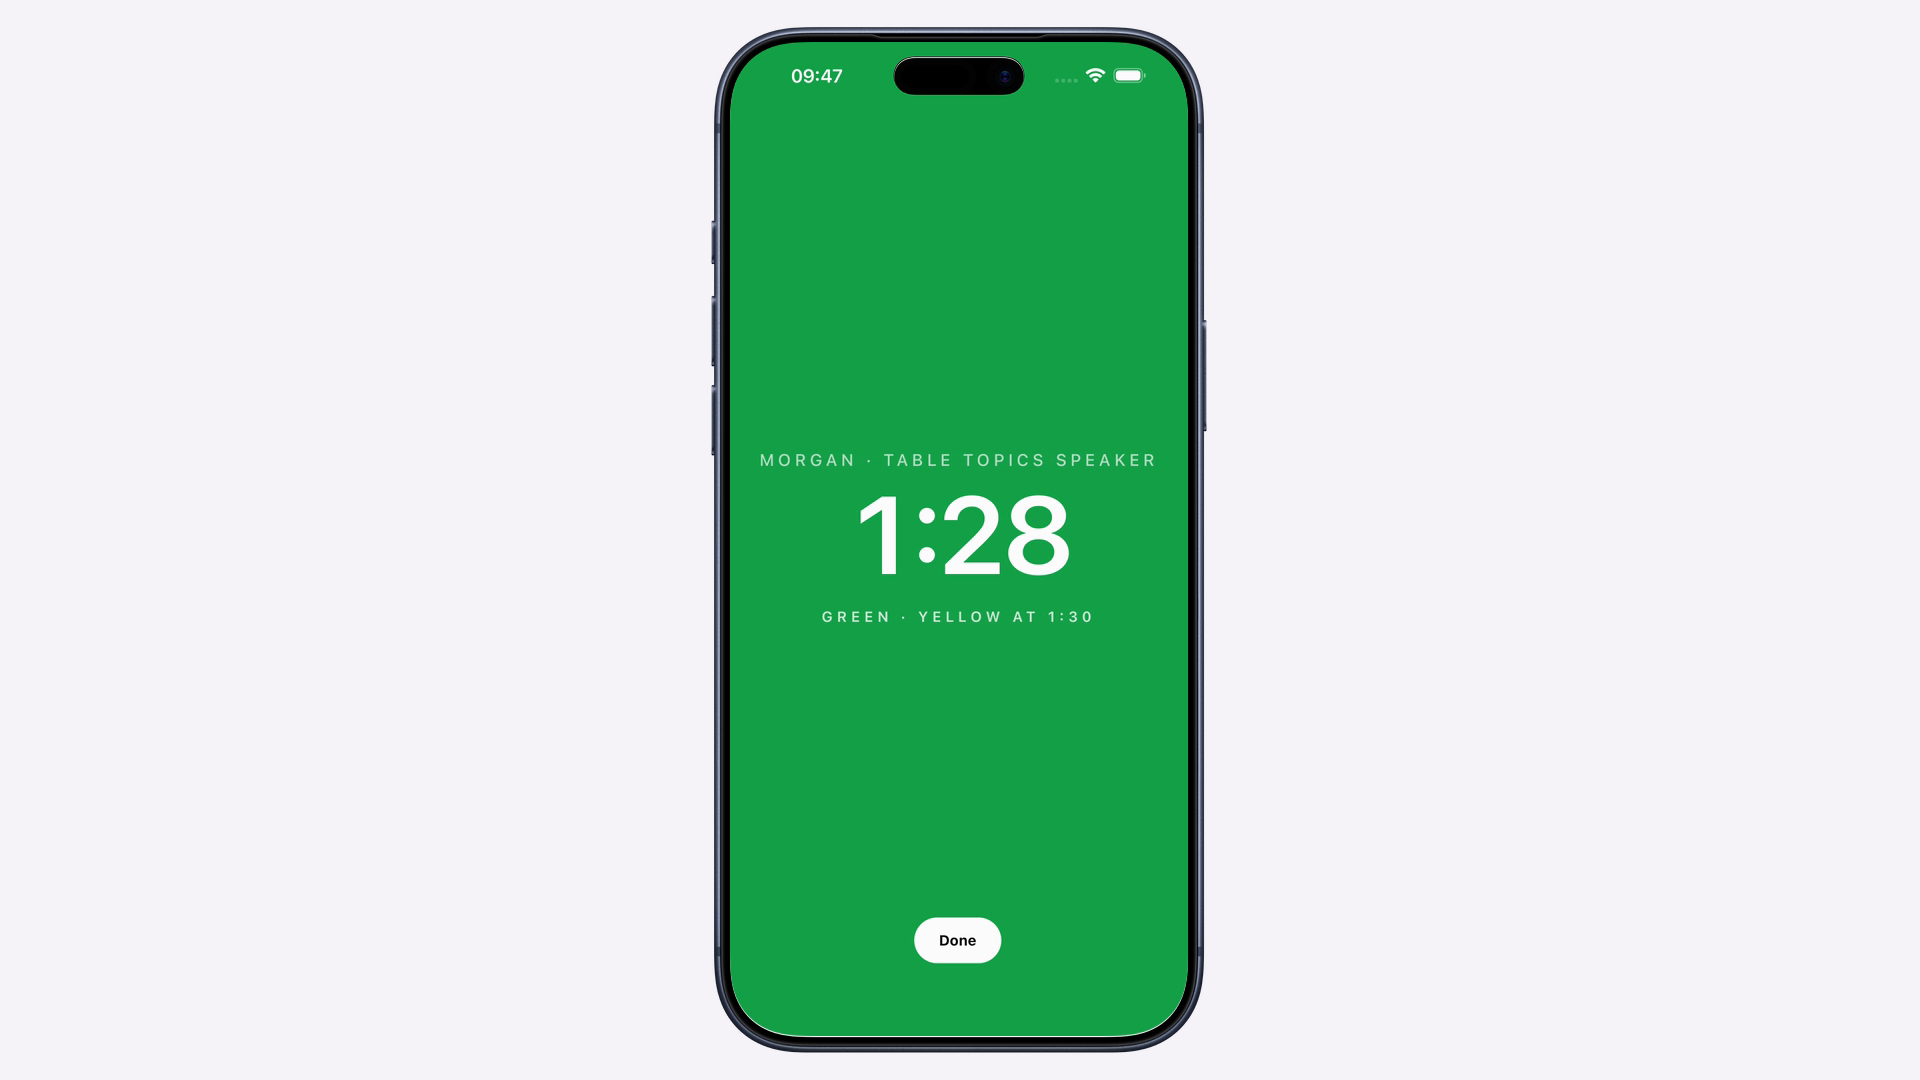
The mobile stage keeps the speaker, elapsed time, signal word, next threshold, and Done action visible.
The Timer can ring the built-in desk-bell sound manually. Bell and red-and-white flash alerts can also be enabled for the maximum qualifying time, or the red time when there is no separate qualification window. Those alert settings apply to every speaker until you change them.
Live-link viewers opt into sound on their own screens. If the display is being shared in an online call, the call platform also needs browser or system audio for participants to hear the bell.
6. Correct a late start deliberately
If you realize the timer started early or late, the stage offers controls to subtract or add fifteen seconds. Use them only when you know the timer was off and can explain the adjustment. They are not a substitute for watching the speaker.
Pause is available when the meeting’s rules call for it. In a normal uninterrupted speech, leave the timer running until the speech ends.
Choose Done when the timed portion finishes. The elapsed time is then attached to that speaker’s row.
7. Let each completed speech build the report
After a speech ends, the lineup retains:
- the speaker’s name
- their role
- the assigned range
- their exact completed time
- whether the result was under, within, within a qualification window, or over
Start the next person from their row and repeat. You do not have to copy each finish into a separate spreadsheet while the meeting continues.
Near the end, switch the speaker list from Edit to Preview. Preview turns the completed rows into the Timer report without removing the underlying setup. Check the names, assigned ranges, times, and results before you are called.
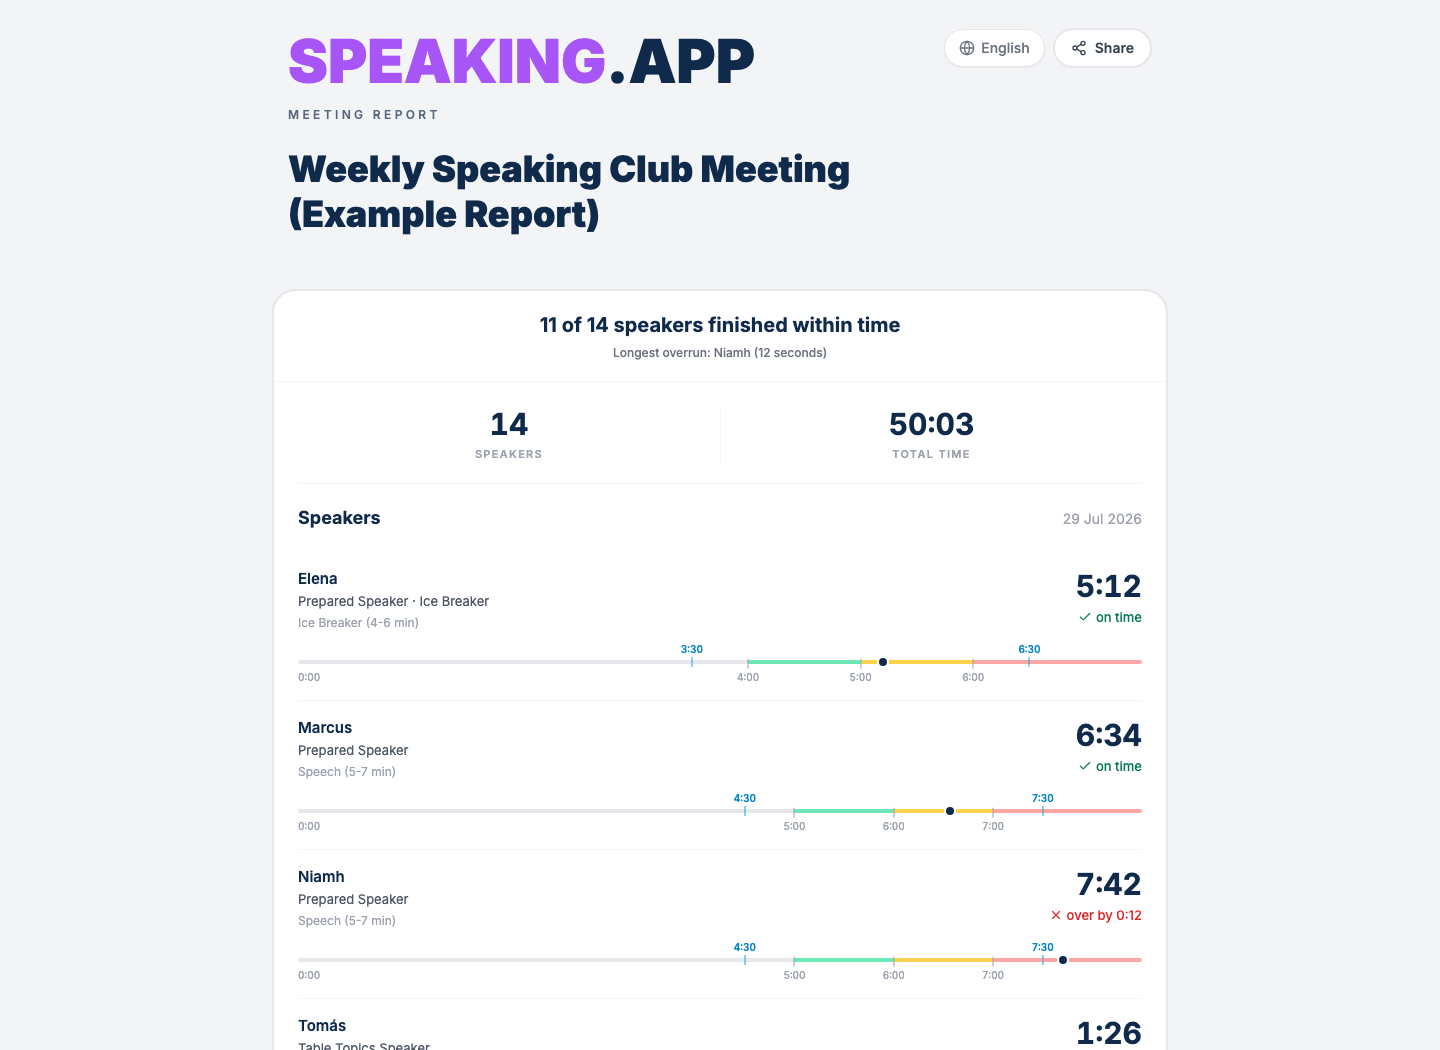
The shared report shows both the final time and where it landed relative to the signals. All meeting data is fictional.
8. Prepare the spoken report
Review the completed rows before the Toastmaster calls on you. A clear spoken format is:
Elena spoke for 5 minutes 12 seconds, on time. Marcus spoke for 6 minutes 34 seconds, on time. Niamh spoke for 7 minutes 42 seconds, 12 seconds over the maximum qualifying time used for this example.
Use the terminology your club expects. In a contest, follow the contest chair and current rulebook, especially when eligibility or disqualification is involved.
Our article How We Built a Toastmasters Timer explains why report preparation is part of the timer workflow.
9. Save or share only if the club wants it
Live timing and the temporary Live link work without an account, and the current results otherwise stay on the controller device. A free account is required to keep meetings across devices or create a lasting public report link.
Anyone receiving a public link can read the report in a browser. If the report should remain within a private club space, place it in a Club Home instead of distributing the public URL broadly.
Sharing does not replace the spoken Timer report. It preserves the detail for people who want to review it later.
To preview the shared page, open our live example Timer report. It uses fictional meeting data.
A simple operating checklist
Before the meeting:
- Read the agenda and confirm every range.
- Add the expected speakers and roles.
- Test the signal from the speaker’s position.
- Open a same-computer Display window or create a cross-device Live link.
- For an online meeting, test the shared Live-link view and its sound before the first speaker.
For each speaker:
- Confirm the row and range.
- Start at the agreed beginning point.
- Keep the signal visible.
- Choose Done at the actual end.
- Check that the time returned to the correct row.
Before reporting:
- Review all completed entries.
- Give each name, final time, and result.
- Follow the chair’s terminology for qualification or eligibility.
- Share the detailed report only when useful.
You can open the free Speech Timer and rehearse the workflow with fictional speakers before your next meeting.
speaking.app is an independent product and is not affiliated with or endorsed by Toastmasters International. Timing rules vary by project, contest, and club; always follow the current agenda and official rules. Product details were checked on September 3, 2026.